I have to admit that what was going to be a short article with some general information regarding using spray paint primers is now a two part series. In Part 1 – you can find it here – I talked a bit about why priming your miniatures is a good idea, what color to choose and what options of spray paint and primers you have. Now, let’s talk about how to use those spray paints and primers.
Weather is important
As obvious at it may seems, I keep forgetting about that. Weather is quite important, as it have a huge factor of how the spray paint is going to behave. If it is too hot outside you might have problems with paint drying too quickly before reaching the miniature. This will cause something that looks like, and is very often called as, ‘frost’ or ‘frosting’. Small dots of paint, that dried midair and reached the miniature almost fully dried, or almost dried, and just stuck to the model surface. It can also happen, when you hold the can too far away from the miniature.
If it’s foggy outside or it’s raining the humidity is going to be high and that will affect paint quite heavily. The more humid environment the longer it takes for paint to dry. It might result in paint not drying and curing properly. In some places of the model you will find patches of accumulated paint, or the paint can dry, but remain sticky. In other words, better not to spray prime you models when the humidity is high outside. There is a trick how to avoid it, but we will cover that once a bit later on.
Before you start priming
Before you jump straight into priming your models, there are few rules of thumb to remember about, and few tips and tricks to use beforehand 😉 :
– wear personal protective equipment (PPE), mask, gloves and some protective eyewear. This is a must in my opinion. If you don’t have a more professional face mask with filters, try to at least cover your nose and mouth with a scarf and wear glasses.
– always spray outside or in a well-ventilated area. If you can’t spray outside try to do it with open doors or windows and preferably use a spray booth if you can.
– try to prime your miniatures with a spray primer with optimal weather conditions. When it is not too hot or too humid. Do not spray prime when it is foggy, very hot or raining heavily.
– read the instruction on the spray can and try to follow the guidelines as much as possible. It will make your life easier 😉
– store the spray cans in room temperature, not in a cold place as the paint doesn’t like it. Yeap, storing your spray cans in a garage is not the best idea.
– shake the can before using it for around 2-3 minutes and shake it from time to time while priming.
– start spraying paint slightly above the miniature or next to the miniature and with a slow and steady motion pass over the model covering it with a thin layer of primer.
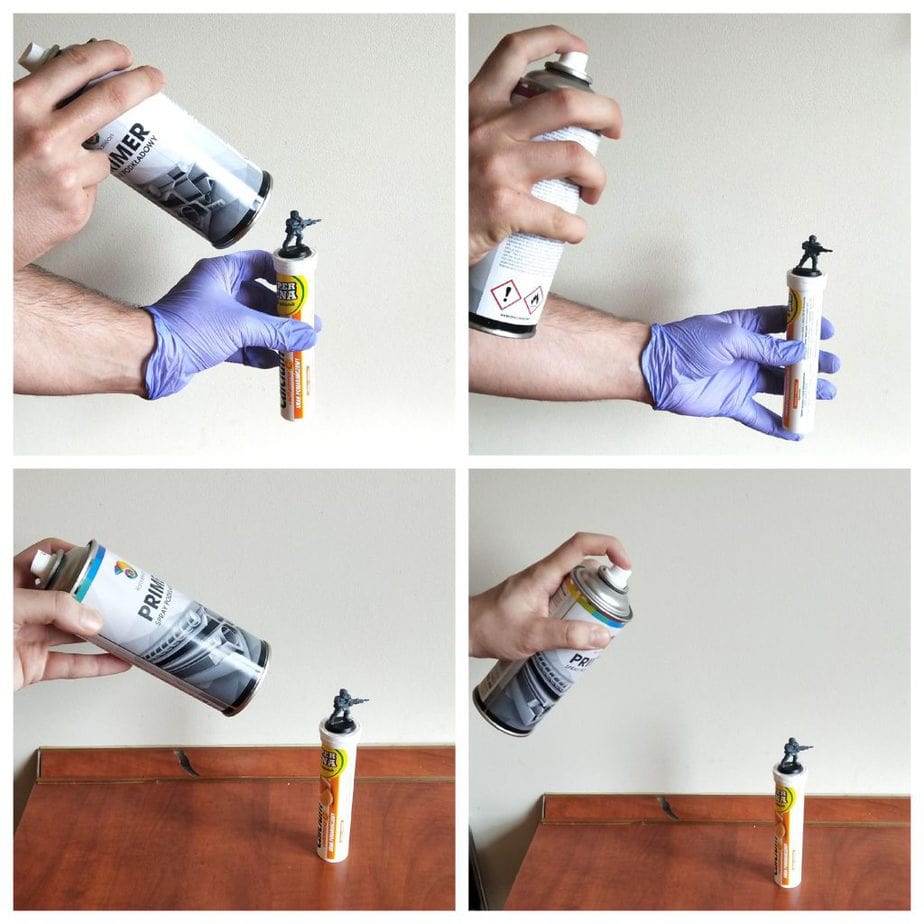
– try to spray around 25-30 cm away from the miniature. A lot of people, myself included, are talking the can and put it next to the miniature on around 45-60 degree angle. This will give you an idea of the distance that is right for spray priming.
– spray in one direction. Don’t make uncontrollable movements or circle like moves while spraying. If you are spraying from right to left, or top to down keep on that controlled motion and direction.
Few Tips and Tricks
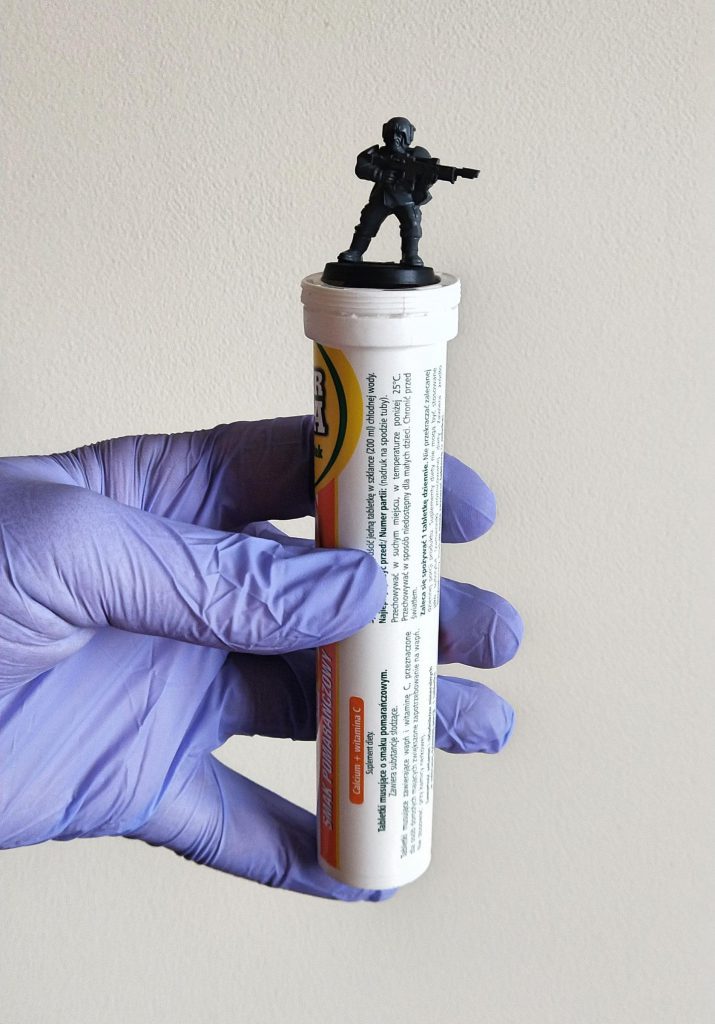
– make sure that the can you are using for priming is not cold, but warm or at least warm-ish. If the can feels cold when you hold it, try to warm it a bit in your hands. One trick to do here is to put the spray can in a bucket of warm water. Warm means NOT HOT or BOILING water! Remember that spray cans are very flammable and they can literarily explode when exposed for heat for too long. So how to define if the water is not too hot for your spray cans? If you can hold you’re your finger or hand in the water and it’s not uncomfortable or painful the water should be fine for the can as well. Leave the can in warm water for 10-15 minutes (some people leave it even for 1,5h!), shake it for 2-3 minutes and try to prime your miniatures.
– when you really need to spray prime your models when it’s raining or cold outside you can try to use a simple trick with a hair dryer or a heat gun. Place it directly above the top of the spray can and turn it on before you start spraying. This is warm the air in front of your spray can and lower the humidity level. It should allow you to spray primer your models and ensure that the paint is going to dry properly.
– when you are doing a lot of spray painting you can quickly clog the spray nozzle. In order to avoid it when you finish painting, or every now and then when you have a long spraying session, turn the spray can upside down and push the button. Keep pressing it until you see that the nozzle is clean of paint.
– some spray cans allow you to swap their nozzles (this is the case with MONTANA series). It is a good idea to grab few clean ones when you buy the spray cans. It will give you an option to change the damaged or heavy clogged nozzles and just continue spraying.
What is a spray booth/tent and how to make one
A spray booth or a spray tent is an enclosure or a semi enclosed area used for spray painting. A spray booth keeps the overspray from going everywhere and it’s a place where you can spray paint when you cannot do it outside. More professional spray booths will also have a build in ventilation, also sometimes referred to as extractor fan system, which will absorb the overspray and in some cases even ventilate it outside.
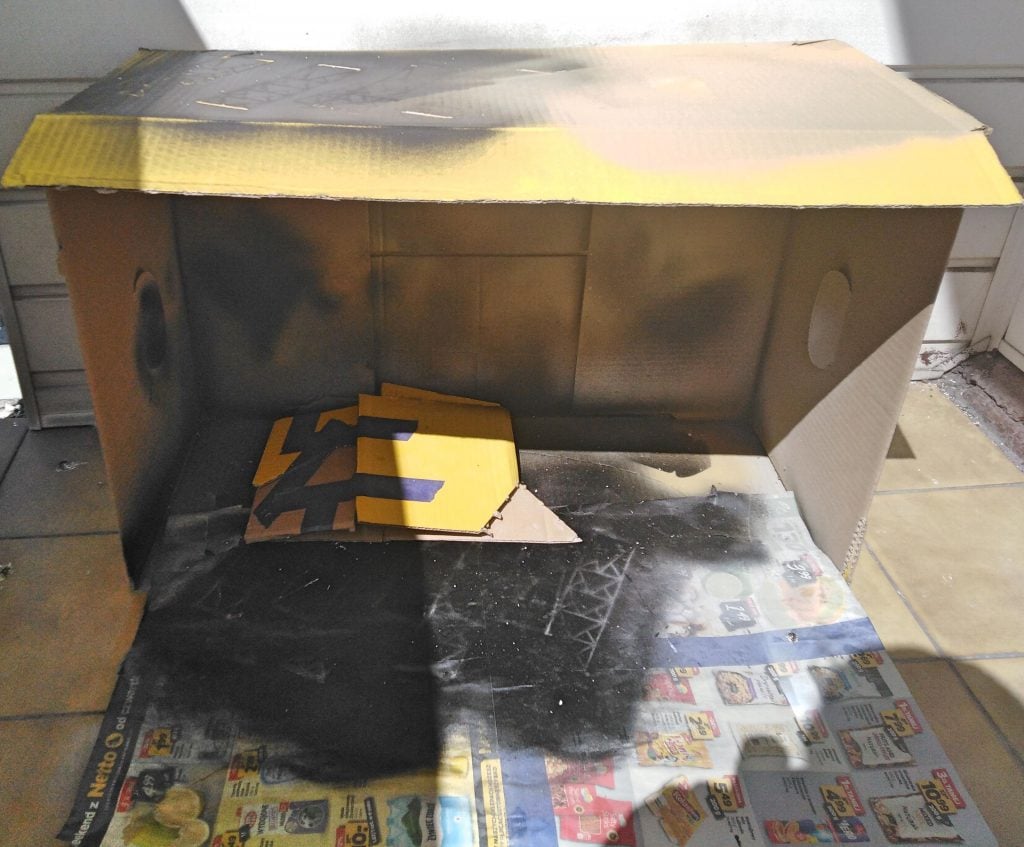
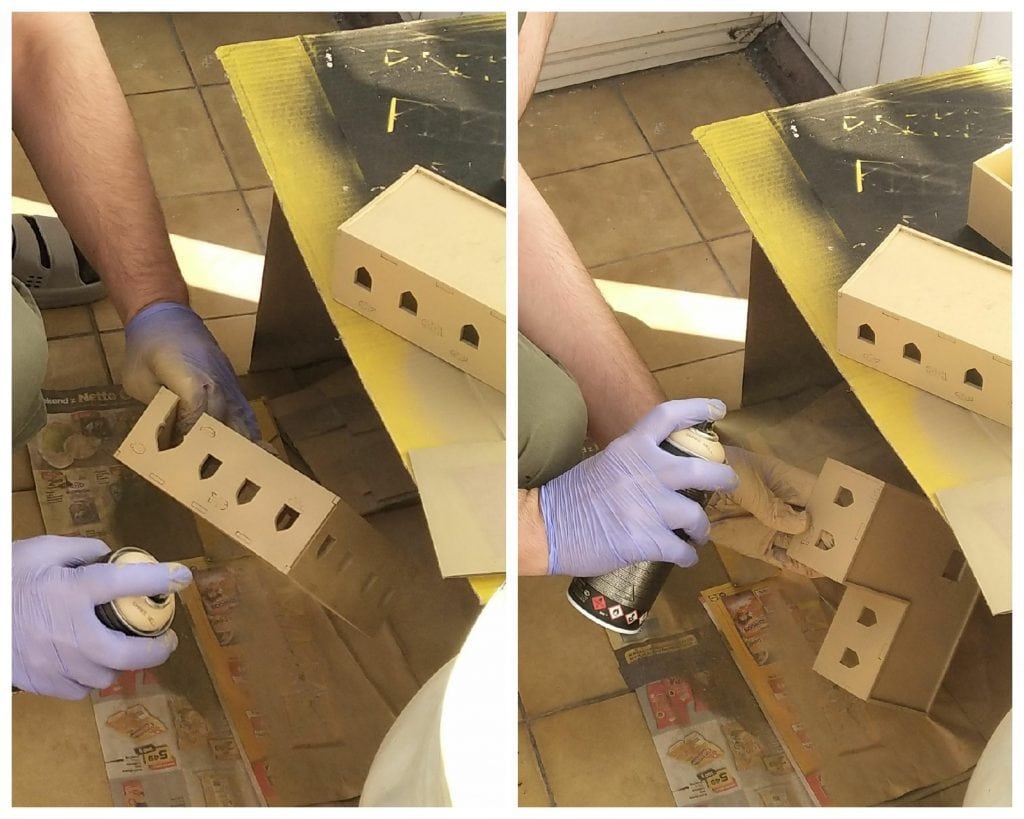
I am sorry for the quality of the picture, I was more into priming than photographing 😛
I am not going to show you how to make a spray booth with ventilation system, but I will show you a quick way to do a spray tent. It will keep the overspray away from everything else that you do not want to put the paint on 😉
1. Just take an empty cardboard box, big enough to put your miniature in it.
2. Take some tape and make sure there are no holes in the cardboard box
3. Attach the miniature to something and put it in the spray booth
That’s pretty much it, you can start priming your models and do not worry about the overspray 😀
Can Montana black paint be used as a miniature spray primer?
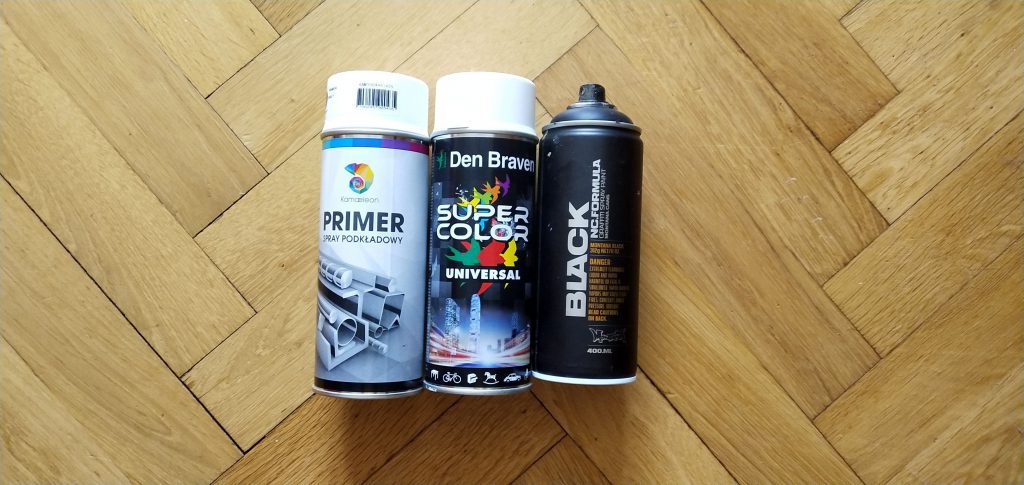
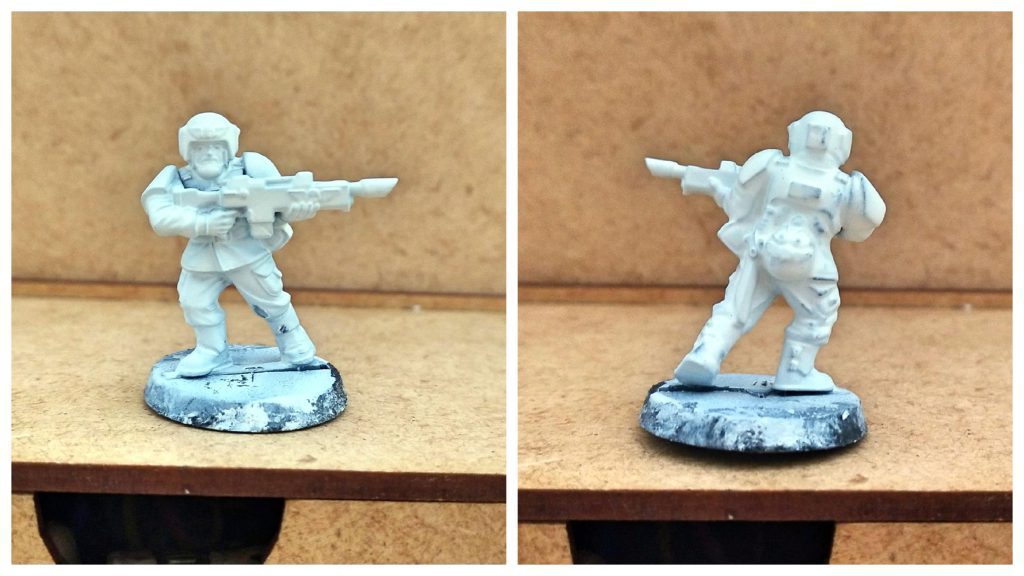
In the first part of this very short ‘series’ I mentioned that I am going to try Montana Black as a primer. I also mentioned that I absolutely love the Montana Black series of cans and their color palette. Let’s see if this paint is as suitable for miniatures as for MDF/HDF.
The results are as follows:
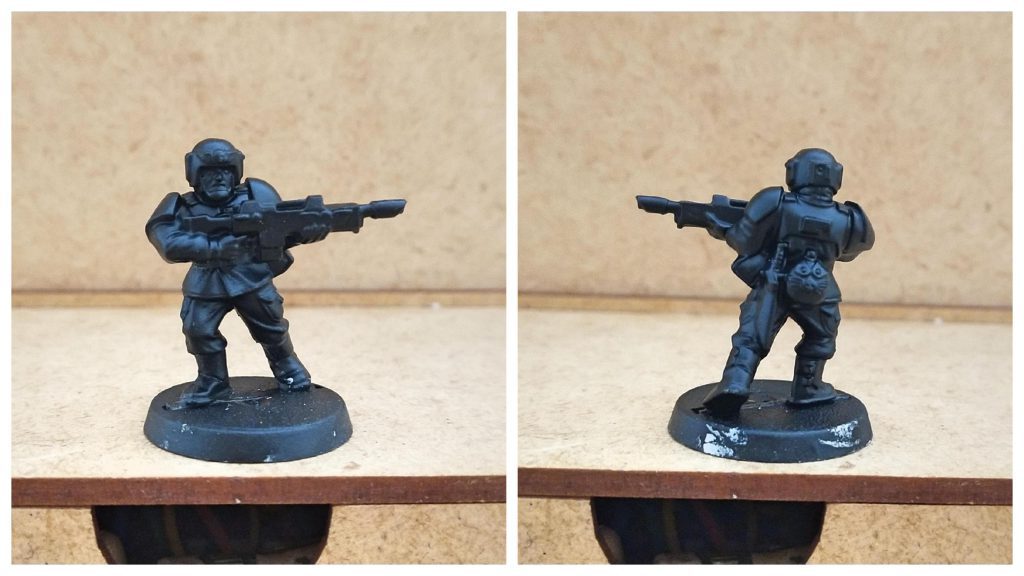
As Montana spray cans are a premium, high quality paint for artists with high pigments density I was a bit concern that the paint is going to be too thick for miniatures. I was not exactly right here. The paint, when fully dry, is a bit thick. However, I did a quick one coat primer here. So, maybe, when being more careful it could get better results. I need to experiment a bit more with it and we will see.
I also asked few friends for their recommendations of a cheap, but relatively good, spray can primer. I ended up buying this:
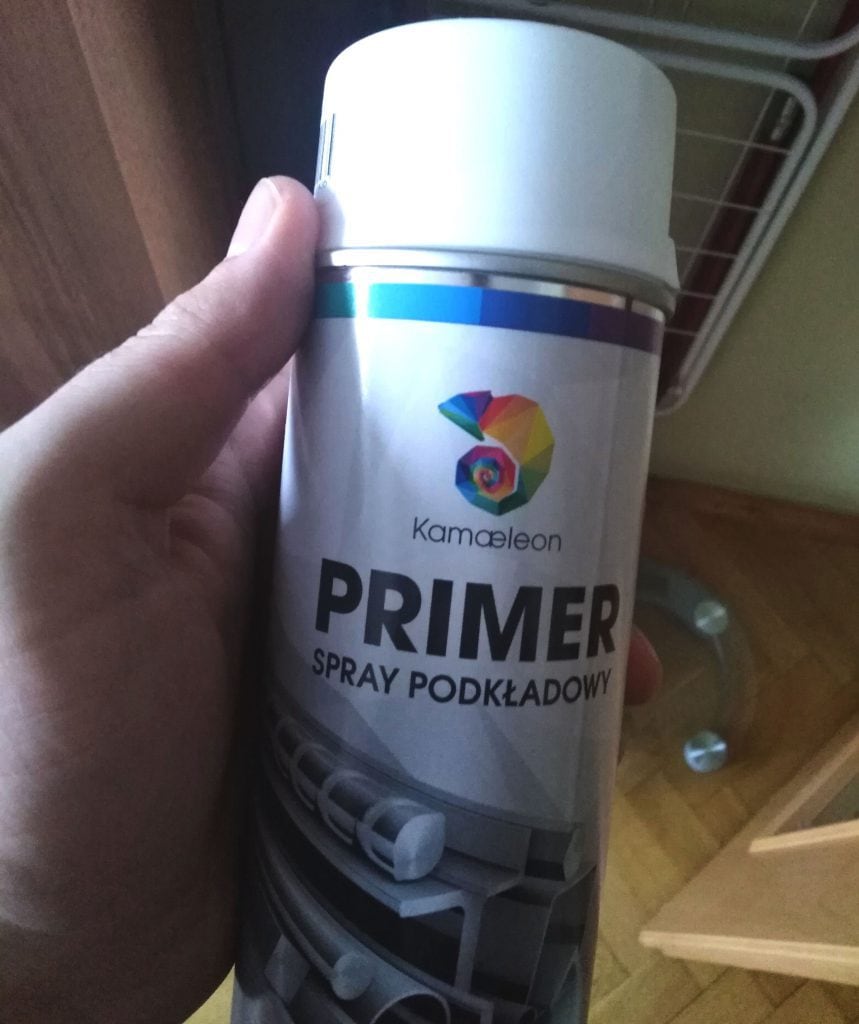
It’s a spray can primer available here in Poland in almost every Auchan supermarket. I paid for it around 3$/2.5EUR/12PLN. In comparison Montana Black paint is for around 4$/3.70EUR/17PLN. The difference is not great when you buy two or three cans, but can make a difference if you need a lot of cans.
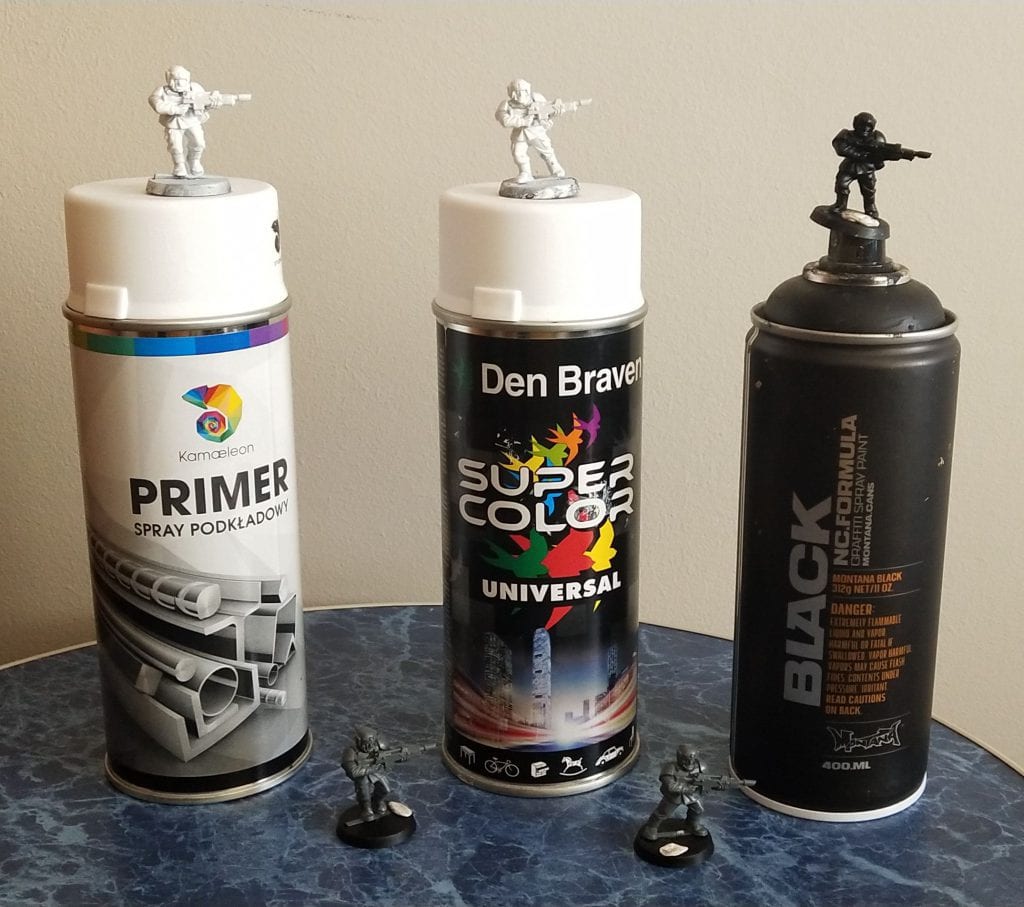
As I had to test the Montana Black spray paint and was also testing the new Kameleon Spray Primer I decided to try Den Braven Universal White Primer a second change. Here are the comparison photos:
For me this time Montana is number 1, even though the paint is slightly too thick for my taste. However, it might have been my fault. Number 2 is the Kameleon Primer White Matt. I got a feeling that this primer might be very good when you know how to use it, will definitely give it a go in the future. With the last one, honestly, I wouldn’t even use it for terrain. Straight to the bin.
Final
thoughts
For all future MDF and HDF projects I am going to stick with the Montana Black and Gold series spray cans. I really love their colors, high density of pigment and how they seal the MDF/HDF and prevent it from soaking more paints.
While for priming miniatures I will probably use a mix of cheap and dedicated spray primers. For the most part I am going to stick to the cheaper ones. Why? You may ask. The fact they work. I simply see no reason and need to change them. Maybe for more ‘collectible’ and really expensive pieces I am going to use the dedicated spray primers. The same goes for painting big armies and using a specific color of primer as my base coat.
My final advice is to try some cheap spray can primers and test them on few broken models. If you are happy with the result, use it. If you prefer dedicated miniature spray can primers, stick to them. In the end each of us, gamers, prefer different tools and use different techniques. If something works for you, that is all that matters 🙂
If you have any questions just write them down in the comments section or on our Facebook page. I am more than happy to answer them or just have a nice chat about out hobby 🙂