When you are starting a new hobby like wargaming, painting your miniatures might seem like a scary and daunting task. There are so many articles telling you what is the correct and probably the only way how to paint miniatures. All those information can be overwhelming. Let us help you with painting your miniatures by providing an easy general step by step what you need to do while painting miniatures.
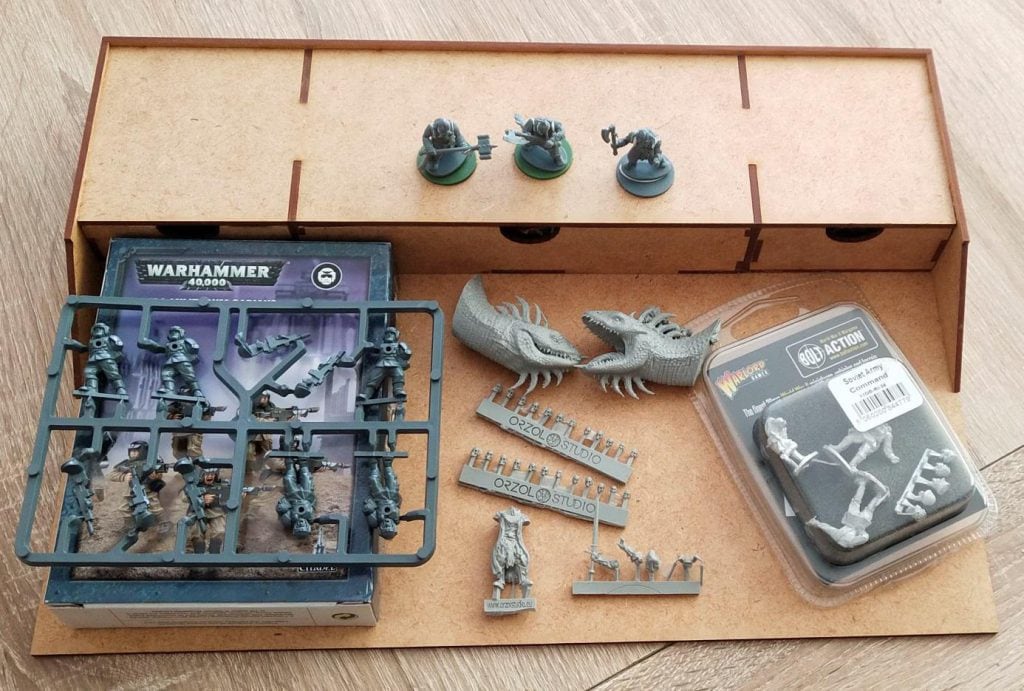
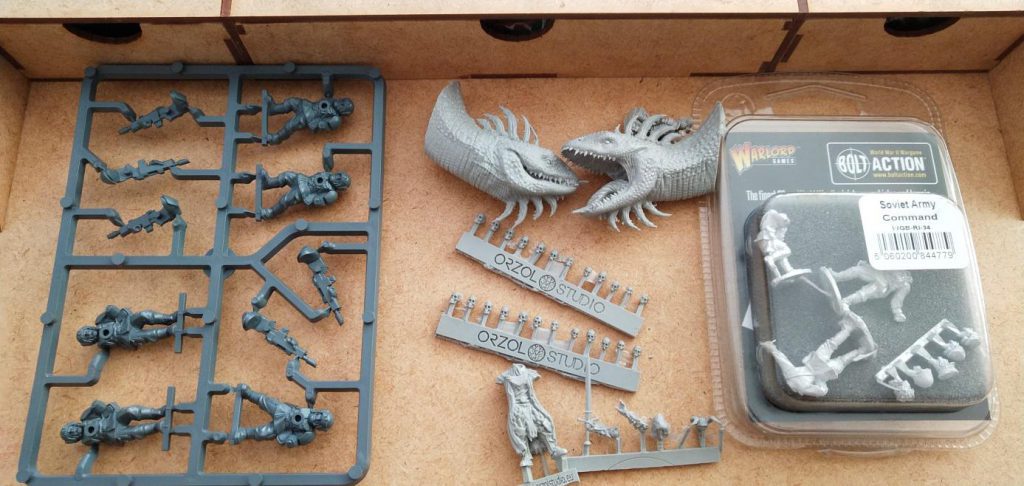
As many would say, choose your poison. In our case it means to choose which miniature figures to paint. Have a look at what you have in your bits box and on your workbench and start painting! It doesn’t really matter what game you are playing, be it Warhammer 40K, Bolt Action, Kings of War or even Dungeons & Dragons. You will always find a miniature that does not have an insane amount of detail, but is rather simple in design and looks like a good starting point for a beginner miniature painter.
First and foremost before starting any work that involves cutting, sanding or using any sharp tools in general you need to wear protective equipment! Yeap, model painting can also become dangerous if we are not careful. Simple work gloves and safety glasses should do the trick. Just be careful when using any kind of tools, especially ones with sharp blades and/or edges. In our hobby plastic can bolt from the sprue, a piece of metal can get into our eyes or under our skin.

What is also very important do not drink your paints! In most cases we are using water based acrylic paints, but even they can be harmful for your health. Whatever you do be careful and stay safe!
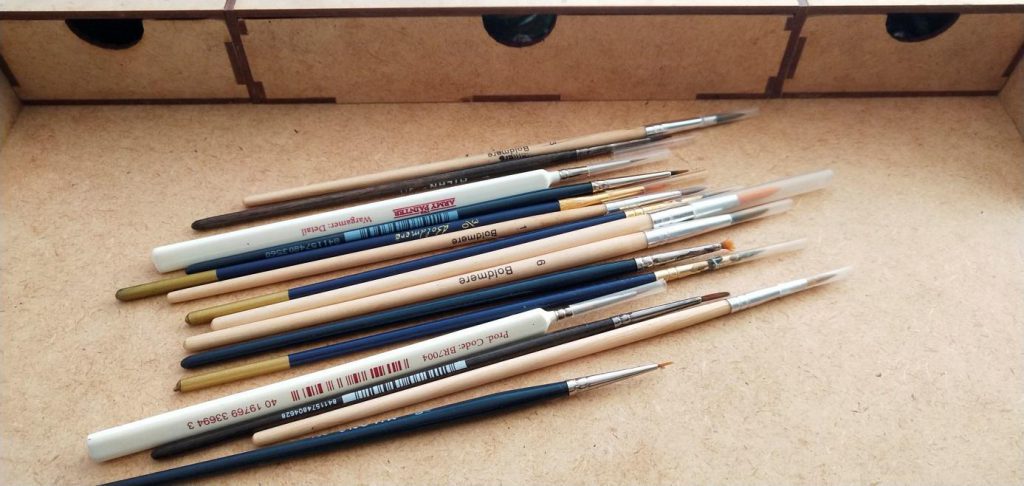
The long you will be involved in wargaming and miniatures painting hobby the more tools and paints you will have. However, at the beginning you do not need much to start. We will provide you with a short list of selected needed tools and equipment. Don’t be surprised to see much linger lists in other articles and painting tutorials as the more techniques you use the more paints and tools you have 😉
You will need:
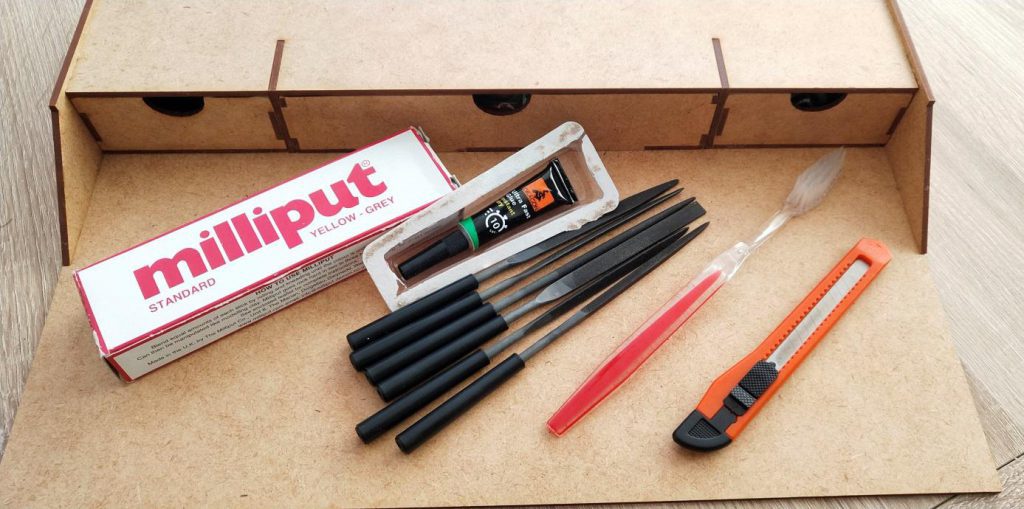
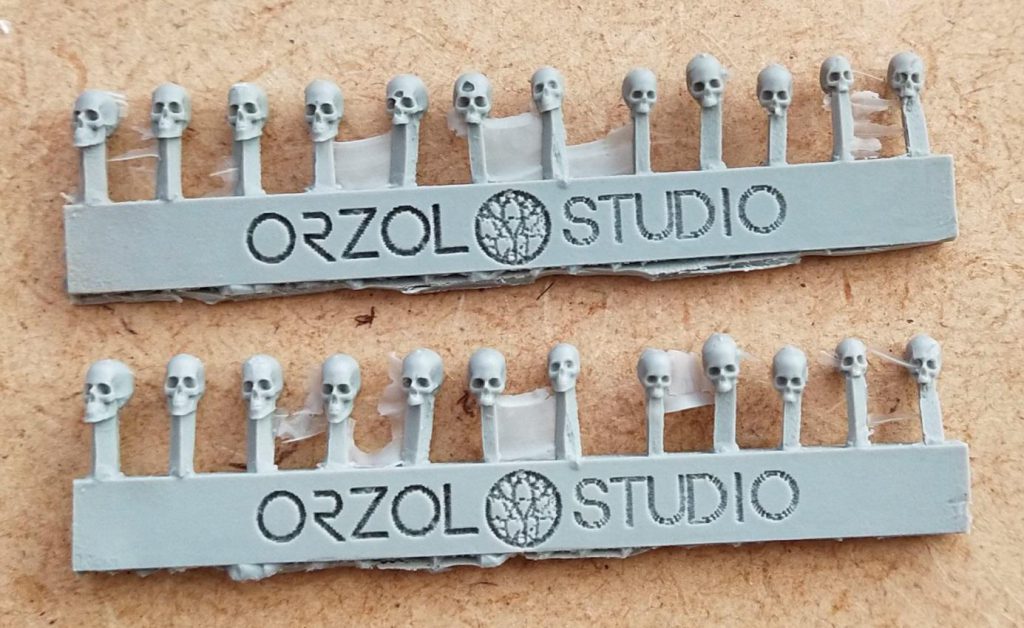
This step depends quite heavily from the figure you choose to be your first painting victim. If the material that the miniature is made of is resin or plastic you need to clean the model from any mould lines and/or trappings. There are special tools for that called mouldline remover or just mould remover. You can just use your x-acto knife 😉
If the miniature is made of metal this preparation steps are a bit different. When working with metal you might need a set of files and different fine-grids of sandpaper. Remove all mould lines and imperfections with the sandpaper and files. You can try to use the x-acto knife, however with metal it might be quite difficult. In this case files and sandpaper works much better than a knife.
After all lines were removed glue the pieces together and check if you need to fill in any gaps and imperfections. You can sand them with fine-grid sandpaper or just use an x-acto knife. When all that is finished, a general rule of thumb for plastic and resin minis is to wash them in warm water with soap. However, we need to warn you that some resins might start to bend if the water is too hot! With metal miniatures you can also use rubbing alcohol to clean the miniature from any dust and oily stuff.
Leave the washed models on the side on a piece of cloth and let them dry before painting.
Your miniatures are nice and clean. Assembled. All gaps filled and sanded. Now it is time to use a primer before the actual painting. A primer is a thin coat of paint that you use to cover an unpainted surface in order to prepare that surface for subsequent layers of paint. You can use a brush or a spray primer to primer your models. Just remember to apply thin coats to keep the details sharp and easily visible.
Generally speaking we use three basic colors of primer: white, black and grey (light grey).
If you are a beginner we advise to use grey primer as it is the most versatile.
Primer is a coat of paint that protects plastic/metal/resin, but is also a surface that a next layer of paints sticks to much easier than to an unprimed model. In other words, primer should make your painting easier as new layers of paint will adhere to it more than to plain plastic/resin etc. surface.
Primer is still wet and you are waiting for it to dry. It is a perfect time to decide on a color scheme for your paint job! As you can see miniature painting means choices, choices and choices 😉 Look at your collection of paints and at your miniature. Decide what colors you want to use. Is your character going to be painted in darker or brighter colors? Is a combination of red, browns and blues a good idea for this particular figure?
If you feel that you don’t have enough paints, you can always visit your hobby store or any other craft store to pick up more paints and ask for some advice there.
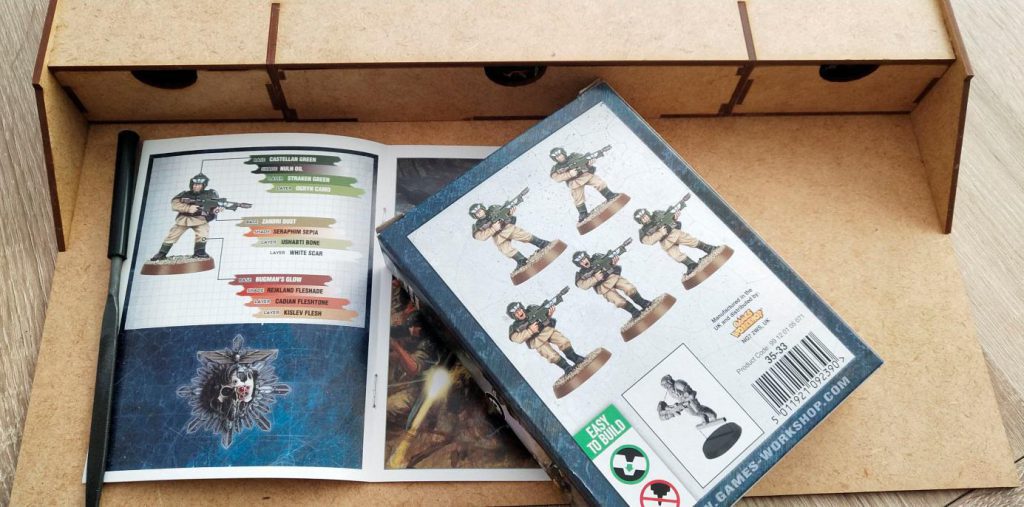
When still unsure how to paint a particular miniature, have a look at tutorials available on the Internet – articles, forums, YouTube; plenty to choose from. Most box sets come with an artwork printed at the box showing you proposed painting scheme. You can use that. If it is a historical figure, try looking at some historical books and osprey artworks dedicated to that particular period and unit. Remember, that the most important part of miniature painting is to have fun!
Primer is finally dry and you decided on a color scheme? Time for some miniature painting!
OK, this is the most important step. Start painting and have fun!
There any many different paint manufacturers, however it doesn’t matter which one you choose remember to thin your paints. One of the most common rookie mistake is to paint with thick, not fully mixed paint. Put some paint on your painting palette, add a drop or two of water and start painting. If you feel that the coat is too thick, try to add a bit more water. If the paint appears to be too thin, add more paint to the mix. You will quickly figure out the right consistency of paint.
There are many painting techniques and ways to paint a miniature. The most common one that is recommended for beginners is called – layering. The concept of layering is quite simple. You need to apply another layer of paint that have slightly different color then the first one and leave some of the first layer of paint still visible. You are adding as many layers of different colors until you are happy with the final result.
By leaving a bit of the previous layer visible you are creating a feel of transition between applied colors. This transition will create a highlight effect or give depth to shadows (shading).
Even though it can be hard to explain and might sound difficult, it is fairly easy to do.
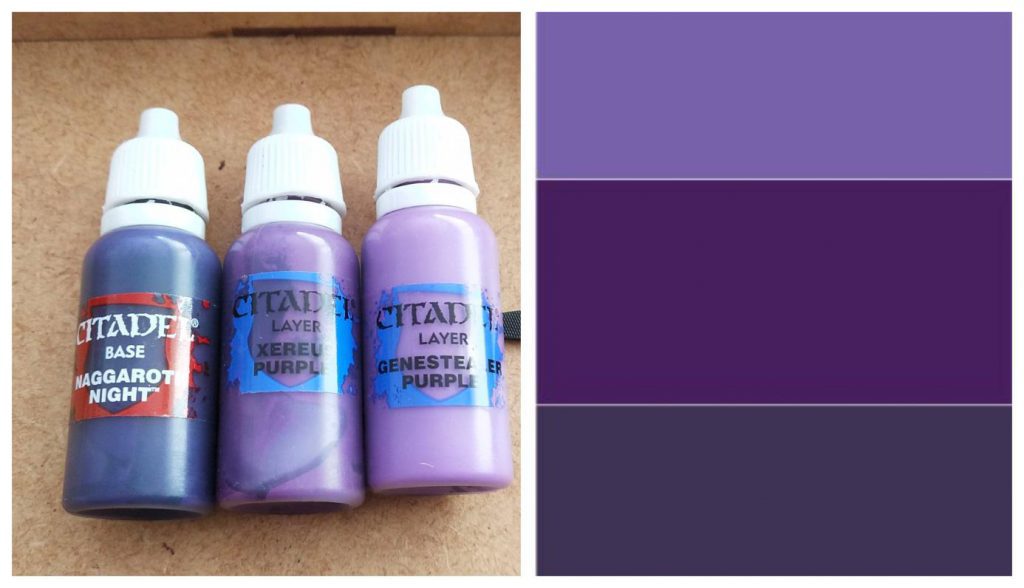
Choose three similar colors. For example: dark red, primary red and light red.
Apply the first layer starting from the darker one.
Keep on applying thin coats of paint with brighter colors. You can mix dark red and primary red to get a transition color between those two.
Remember to keep some of the previous layer visible to create a transition effect on the miniature.
Keep on applying new coats of paint until you are satisfy with the result.
Please remember that this is only one of many ways to paint a miniature. It is not the one and only and if you are doing it differently than described here you are doing it wrong. That is not the case! Miniature painting is a creative process and you will be experimenting. You will be learning new skills, add washes and inks to you inventory, add metallic paints, use varnish to protect your miniature, start using techniques like glazing… and many more!
What we want you to remember that it is just a hobby and we do it to have fun! Not to treat it one of the household chores 😉 We hope that this very basic article helped you to start your journey of a miniature painter!
Check our miniature carrying case and rest of blog posts: