Skip to content
0.00
PLN
0
Cart
My Account
CART
Miniature carrying case
Accessories
Painting handle for miniatures
Magnetic Token Box
Velcropouch
MPG Mega Pack
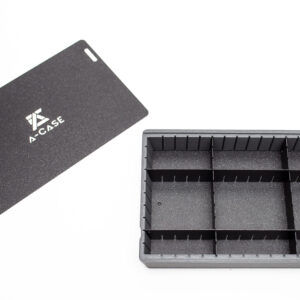
Additional trays
Learn more
FAQ
Contact us
We recommend
Menu
Miniature carrying case
Accessories
Painting handle for miniatures
Magnetic Token Box
Velcropouch
MPG Mega Pack
Additional trays
Learn more
FAQ
Contact us
We recommend
Facebook-f
Youtube
Instagram
0.00
PLN
0
Cart
Miniature carrying case
Accessories
Painting handle for miniatures
Magnetic Token Box
Velcropouch
MPG Mega Pack
Additional trays
Learn more
FAQ
Contact us
We recommend
Menu
Miniature carrying case
Accessories
Painting handle for miniatures
Magnetic Token Box
Velcropouch
MPG Mega Pack
Additional trays
Learn more
FAQ
Contact us
We recommend
Army-Case Shop
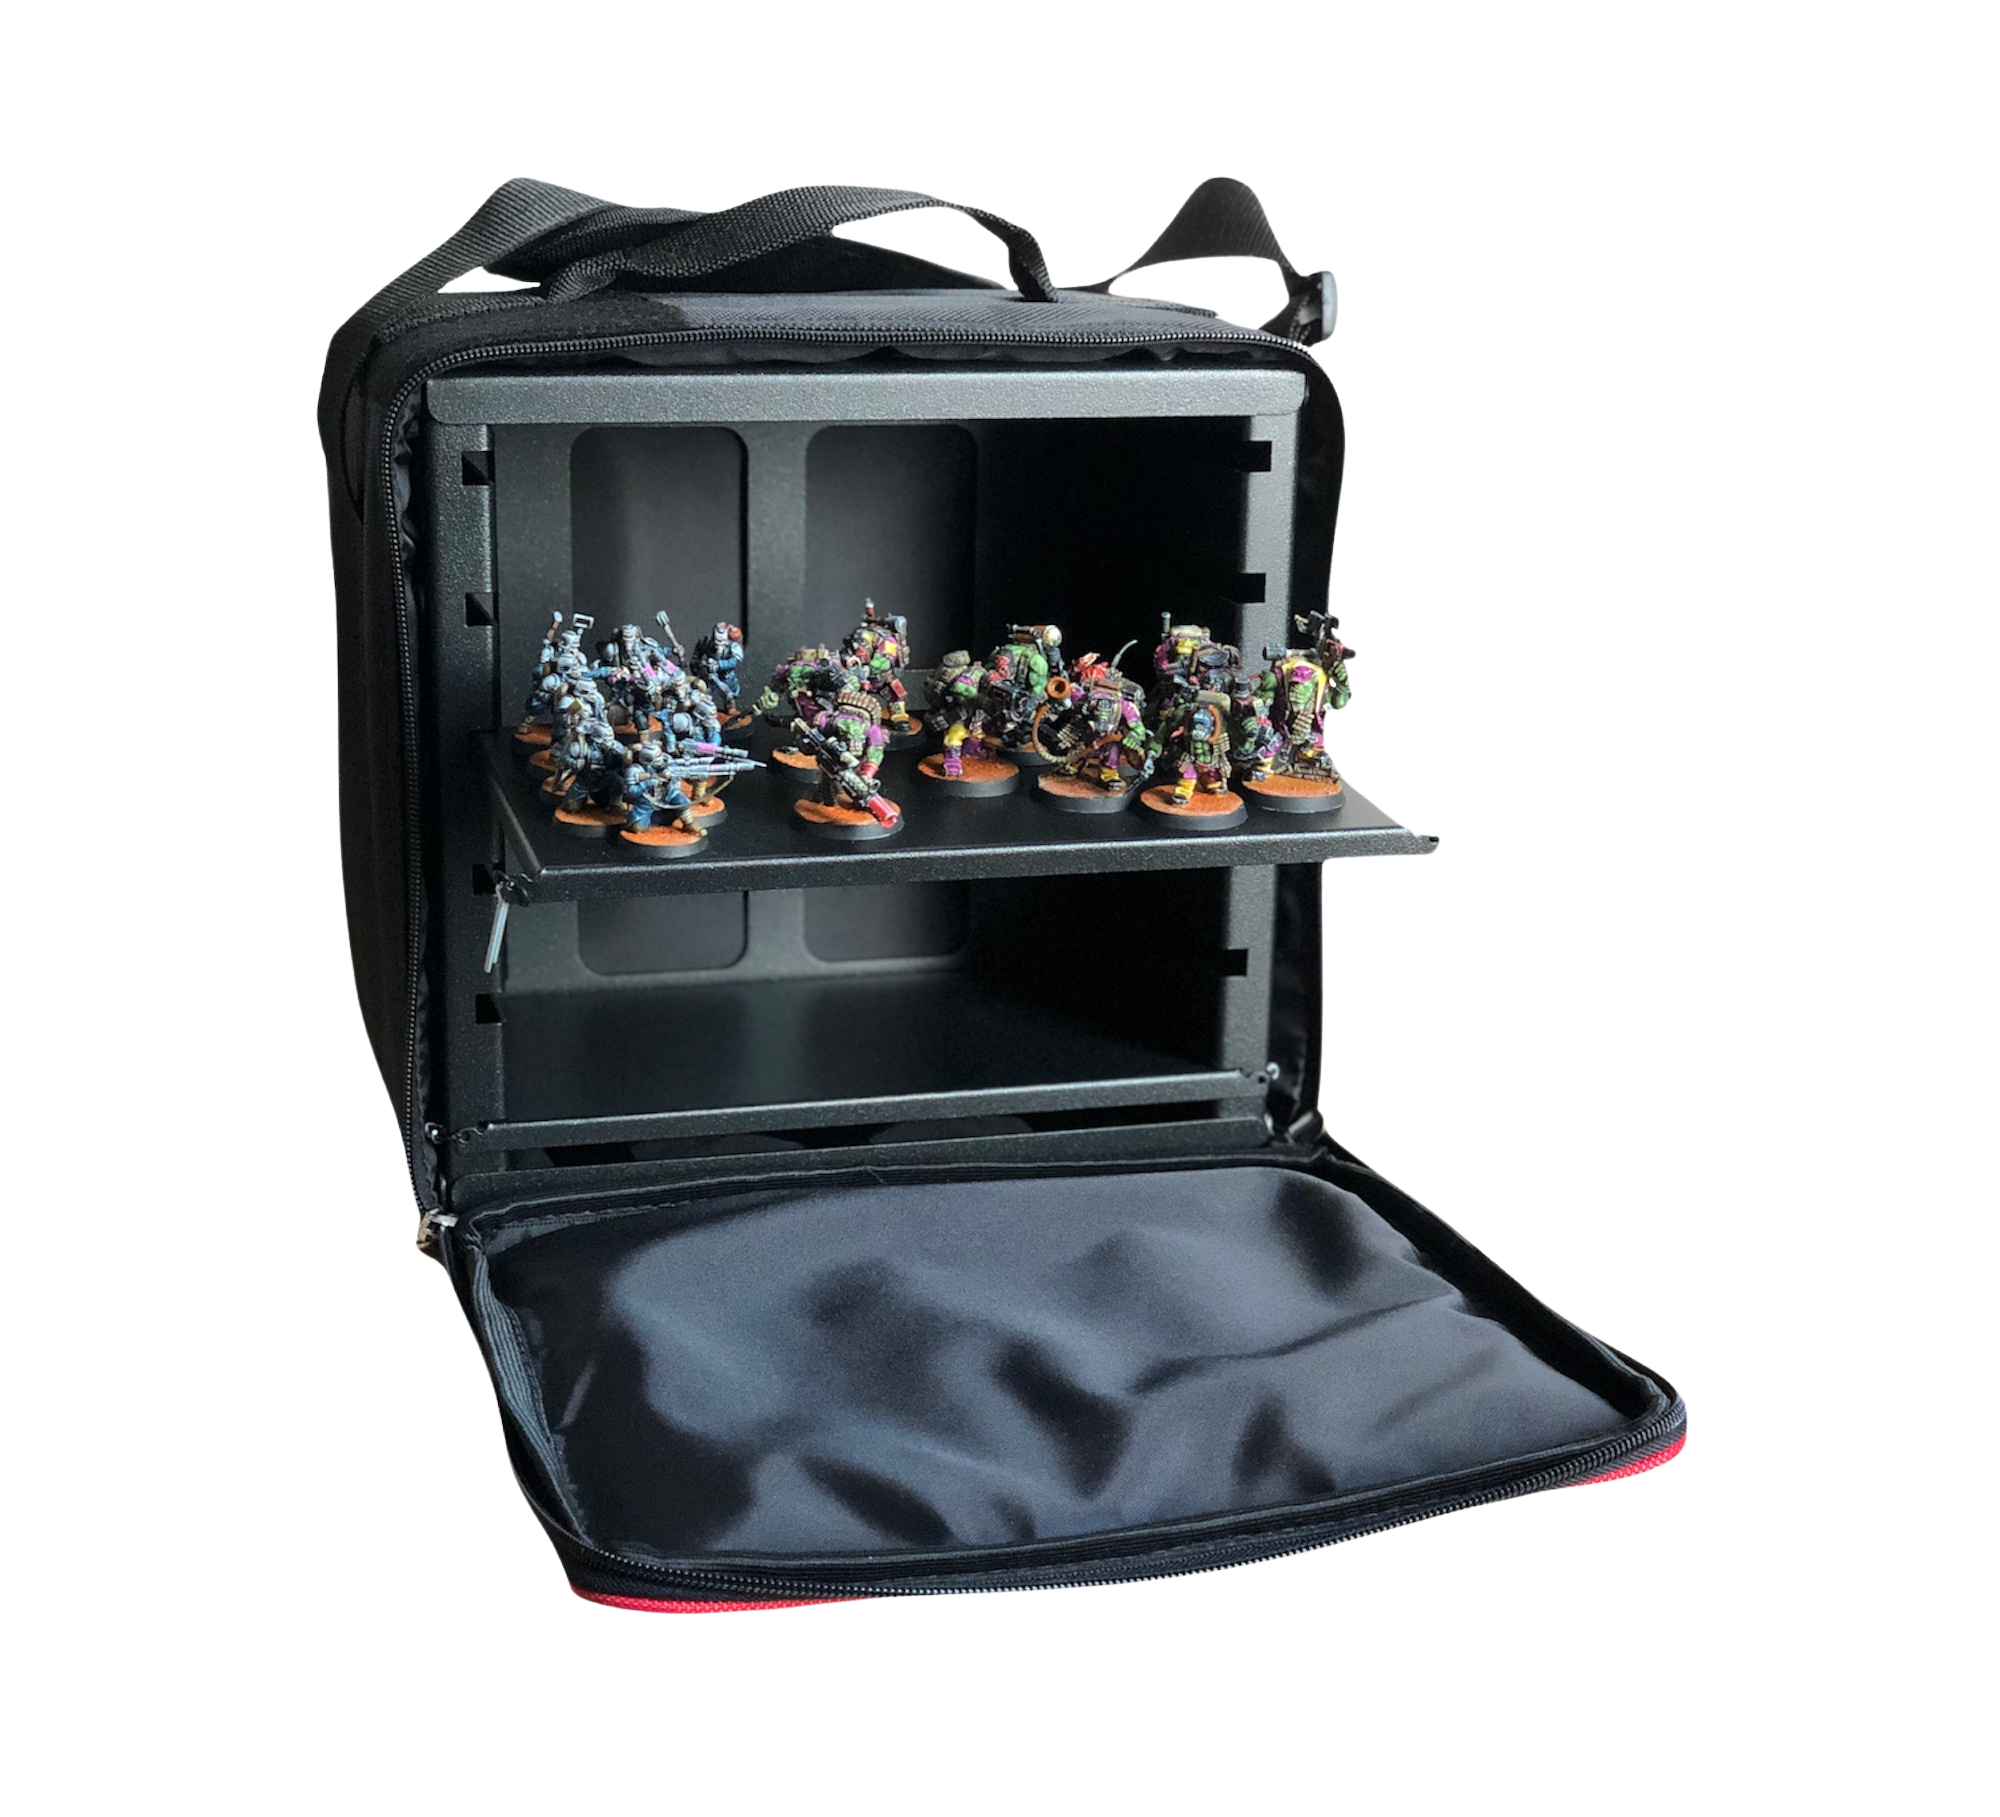
Transport your minis!
Shop now
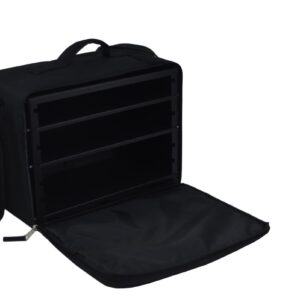
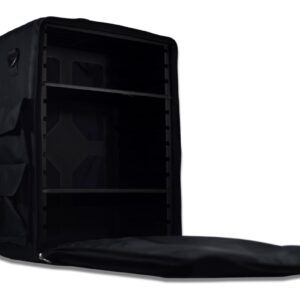
A case
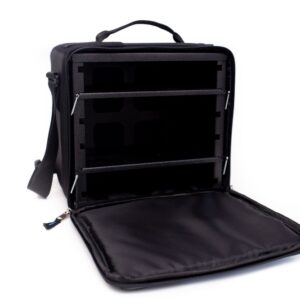
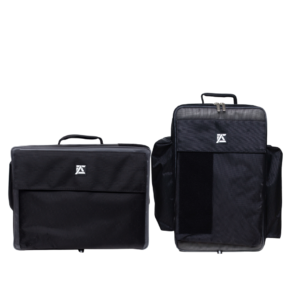
Miniature carrying case
Shop now
A case
Accessories
Shop now
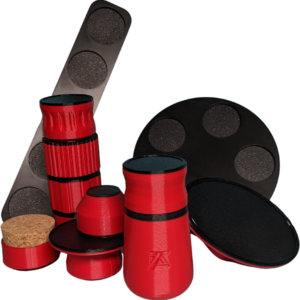
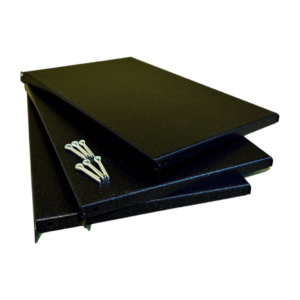
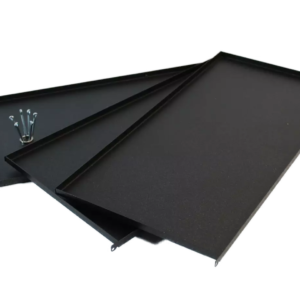
A case
Case Trays
Shop now
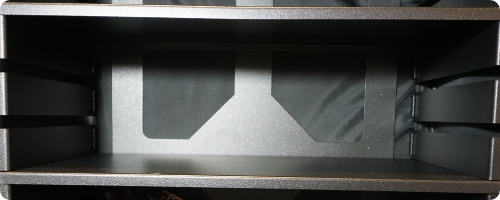
Stable and durable aluminium frame
Rainproof, elegant, handy bag
Lightweight
Stable and durable aluminium frame
Rainproof, elegant, handy bag
Lightweight
Keep your precious minis safe!
ABOUT US
We have designed and developed probably the best storage case for miniatures. A-CASE is the name of a series of unique, very light and solid cases for storing, protecting and transporting your precious miniature armies.
FAQ
Tutorials
We are constantly working on improving our products! If you have any insights or just want to chat with us, please email us!
support@army-case.com
Best seller
All products
✈︎ Free shipping!
A-Case Carrier [Backpack]
1,179.00
PLN
Select options
✈︎ Free shipping!
A-Case Hybrid Messenger
Rated
5.00
out of 5
1,010.00
PLN
Select options
✈︎ Free shipping!
A-Case Hybrid The Kane (Backpack)
Rated
5.00
out of 5
1,379.00
PLN
Select options
✈︎ Free shipping!
A-Case Victory 2.0
Rated
5.00
out of 5
779.00
PLN
Select options
✈︎ Free shipping!
DuoPack – Ultimate Airplane Traveler
1,990.00
PLN
Select options
✈︎ Free shipping!
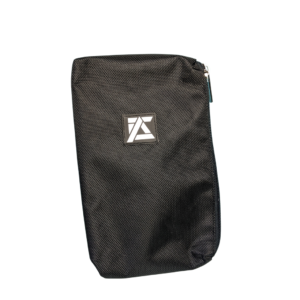
Velcropouch
129.00
PLN
Select options
✈︎ Free shipping!
Magnetic Token Box
149.00
PLN
Select options
✈︎ Free shipping!
A-Case Magnetic Painting Grip Mega Pack
399.00
PLN
Select options
✈︎ Free shipping!
Painting handle for miniatures
139.00
PLN
Select options
✈︎ Free shipping!
A-Case Carrier Trays
129.00
PLN
Buy now
✈︎ Free shipping!
A-Case Victory 2.0 trays
129.00
PLN
Buy now
✈︎ Free shipping!
Kane Trays
199.00
PLN
Buy now
✈︎ Free shipping!
Messenger Trays
189.00
PLN
Buy now