Painting miniatures is only one part of our wargaming hobby. One of the other ones is basing your miniature. There are many ways and materials that you can use to base your miniature. Today I will show you how to make a simple base for your miniatures with household items that probably all of us have at hand.
The below list contains all necessary, and some optional, materials for today’s project. Let’s have a look what you will need:
As always safety first, so do not be surprised to see safety glasses and work gloves on the list 😉 Please have in mind that it is the bare minimum, which you will need to make a simple base that I am presenting to you today. If you have other materials and bits that you want to use go ahead and use them. You probably noticed that some materials have the ‘optional’ mark next to them. Depending on your projects you might need them or not, that’s why they are listed as ‘optional’.


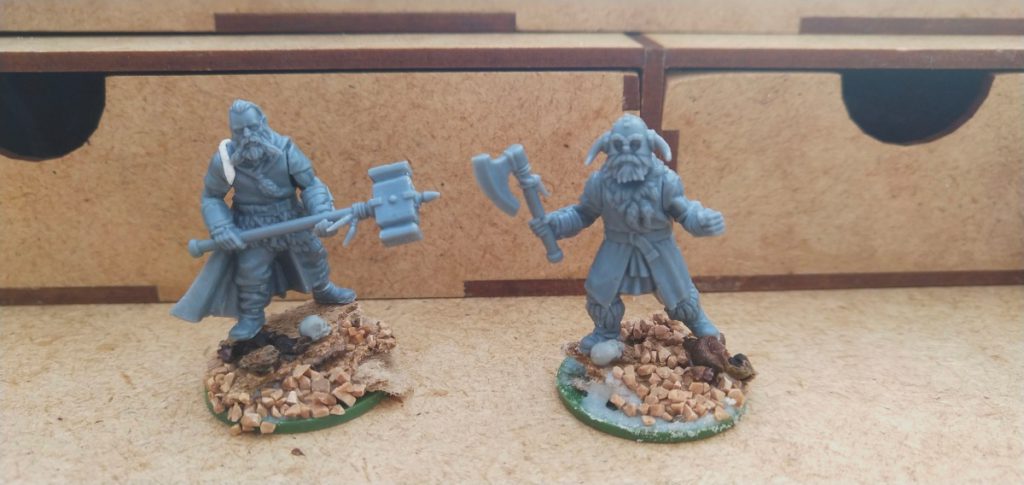
Have a look what miniature needs to be based and double-check what base size you need for that particular model. Also try to think if you are going to use this miniature in a tray as it might need a bit more planning, as you do not want to make a base that won’t fit the tray 😉
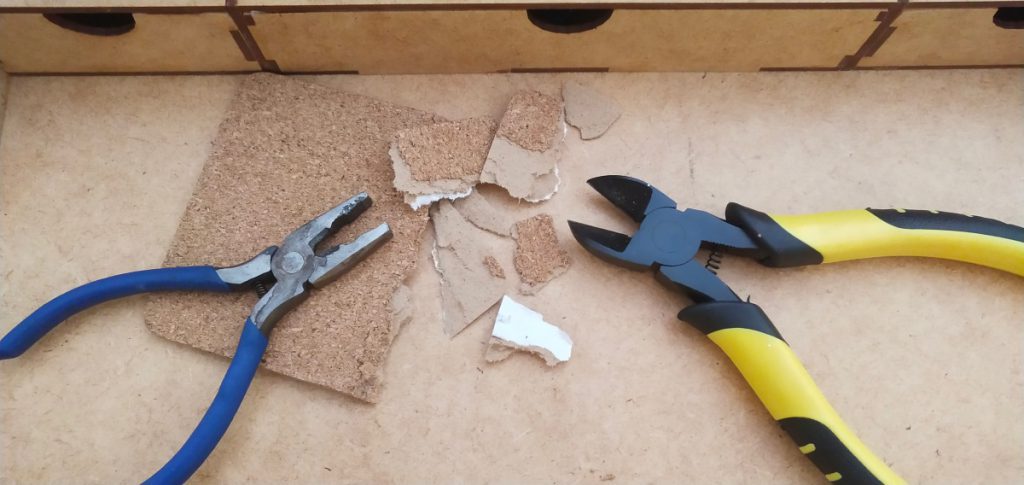
When you have the base size you need to prepare a cork sheet (one from a wine bottle is fine), superglue and clippers. Take your clippers and start cutting or better to say ‘crumble’ the cork. The idea here is to get smaller cork pieces with irregular shapes on each edge of the small cork piece.
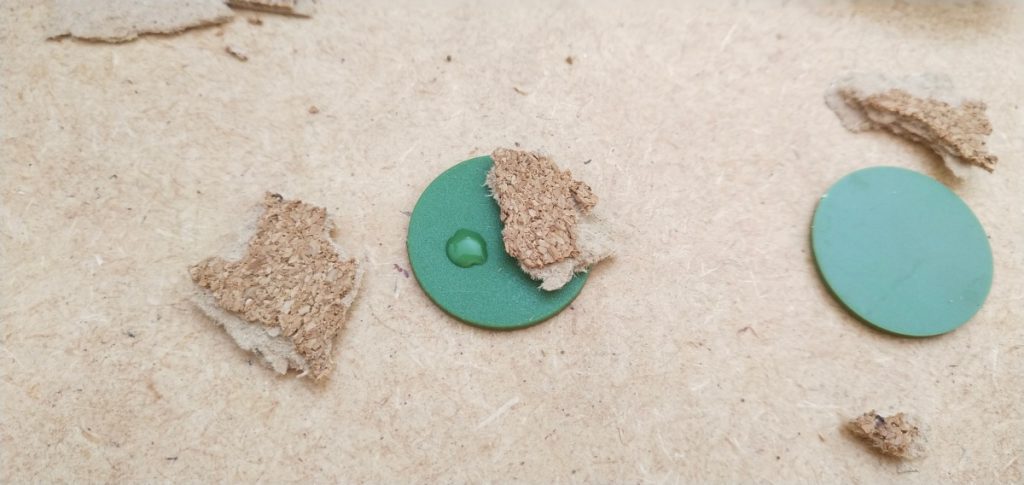
When you are satisfy with your cork pieces you can start arranging them on your base. When you are happy with the overall look of the base, start gluing the pieces in place with superglue.
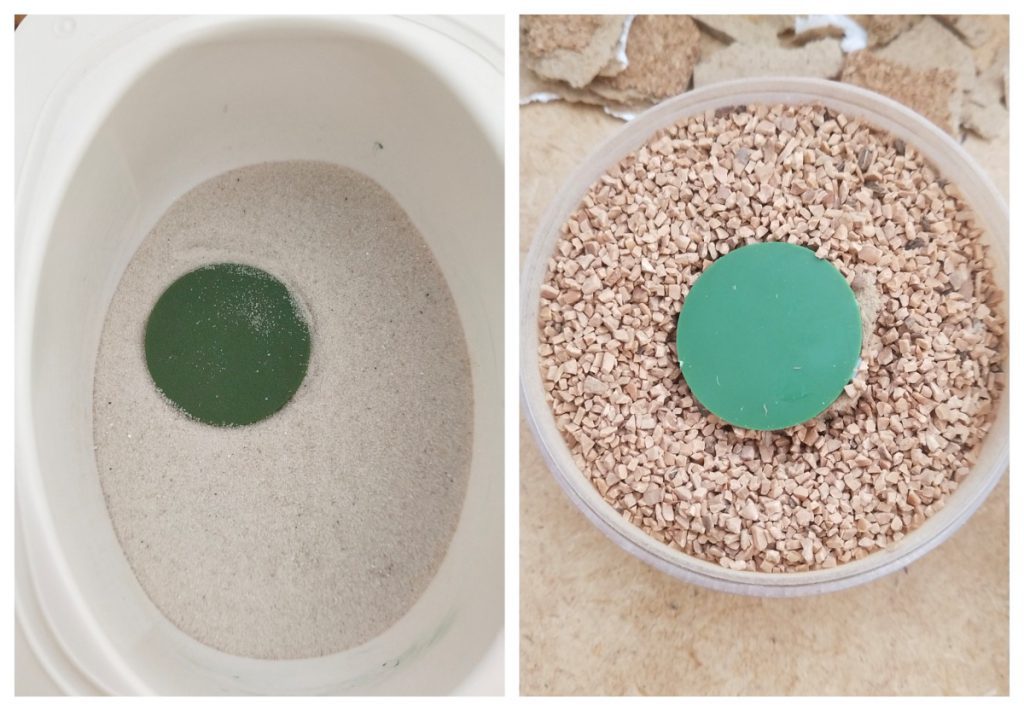
Prepare the PVA glue (white glue), container with sand and some small stones. Instead of stones I am going to use ground cork from GaleForce9. However you can use many different household items, for example whole black pepper (ungrounded) 😀
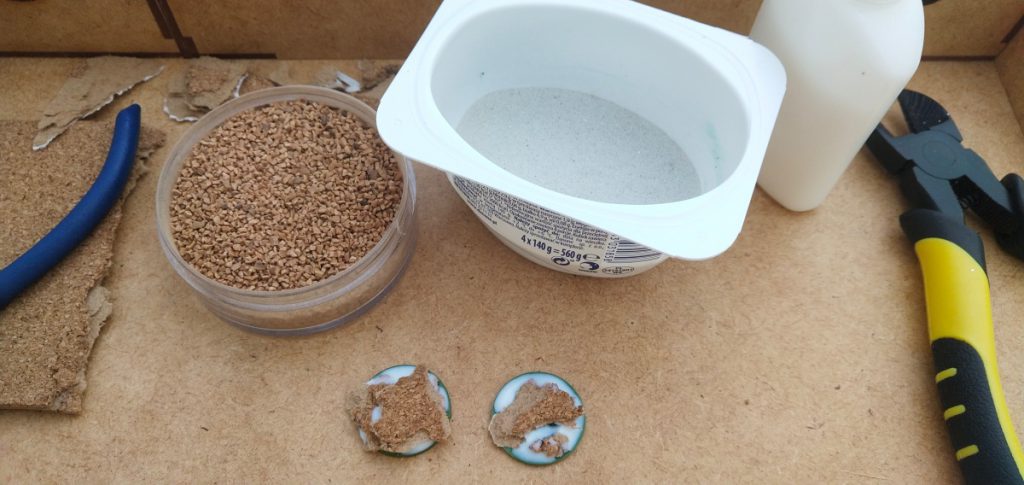
Put some PVA glue on your base and add sand and gravel. I tend to ‘flood’ the base with glue on it in my sand container 😉 I am a lazy bugger 😛
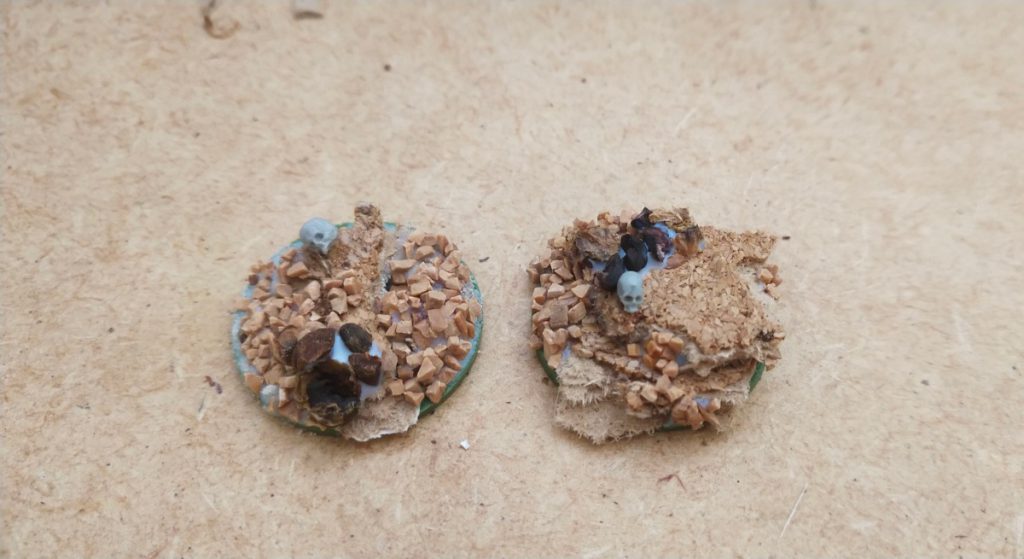
Now is the time to unleash your inner creativity. If you want to add some bitz, skulls, bones and any other bitz that will make your base special now is the time to do it. I am going to use some skulls from ORZOL Studio, that you could see in the ‘How to paint miniatures’ article. Please note that static grass and grass tufts can be added after painting the base 😉
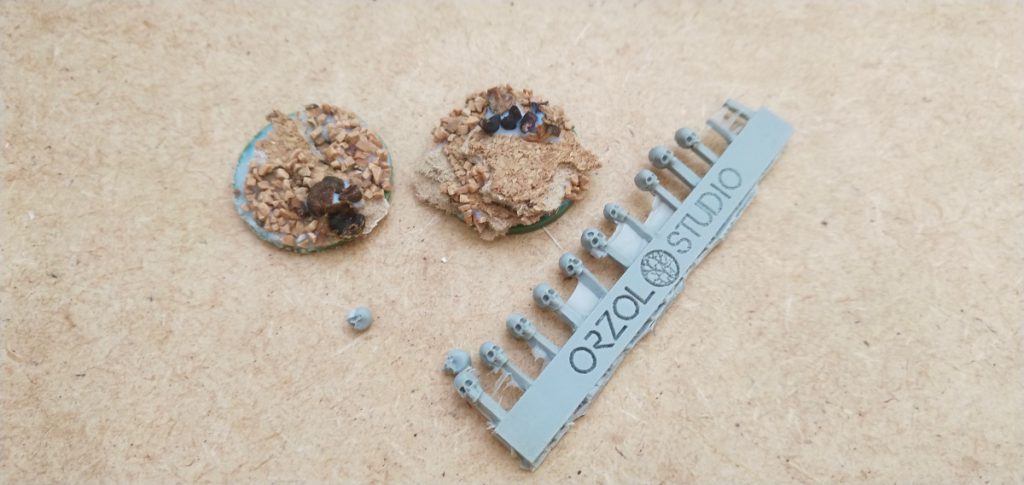
I also have other bitz from ORZOL Studio, but I have an idea for a small diorama project. I simply plan to use all those swords, skulls and the undead/possessed (?) knight for it 😉

Congratulations! You finished building your miniature base! Now all you need to do is to paint the base, add some static grass or grass tufts and painted model. Just that 😉
We will cover this step in another article dedicated the art of basing. Please remember, that materials like static grass, grass tufts can be added after the base is fully painted. Next time I am going to show you how to add some grass tufts and maybe some foam modeling flock.